Experiments with Cyanotypes
Basic contact prints
This set of prints were made with Sunprint ® (http://www.sunprints.org/) commercial cyanotype paper. This material is commonly found in museum stores and craft outlets, and can also be obtained by mail order. There are other commercial products, and cyanotype chemistry is available from sources such as the Photographers Formulary (http://stores.photoformulary.com/) either as a kit or as bulk chemicals. The typical paper used is a watercolor type which is dimensionally stable and handles the repeated soaking well. Comments and times here refer to the paper used. Alternative formulations may behave differently.
The originals for these images were 5x4 inch negatives on Delta 100 film. Each was contact printed using a printing frame. Development was done using 0.1% W/v (1g in 1 litre) citric acid solution to extend the mid tones. There are a lot of variables - the glass on the printing frame will attenuate the UV light, so the thin acrylic sheet provided in the Sunprint kits may be a better choice. Even in Northern California the time of year will affect the strength of the sun and the exposure time.
It can pay to use distilled or purified water, especially if the local supply is heavily chlorinated. This reduces the chance of reaction with the iron salts on the paper. For the purposes of this discussion, a US quart can be substituted for a litre, and 28g is equivalent to 1 oz avoirdupois. This is not precision chemistry, but make notes if you wish to reproduce a particular recipe!
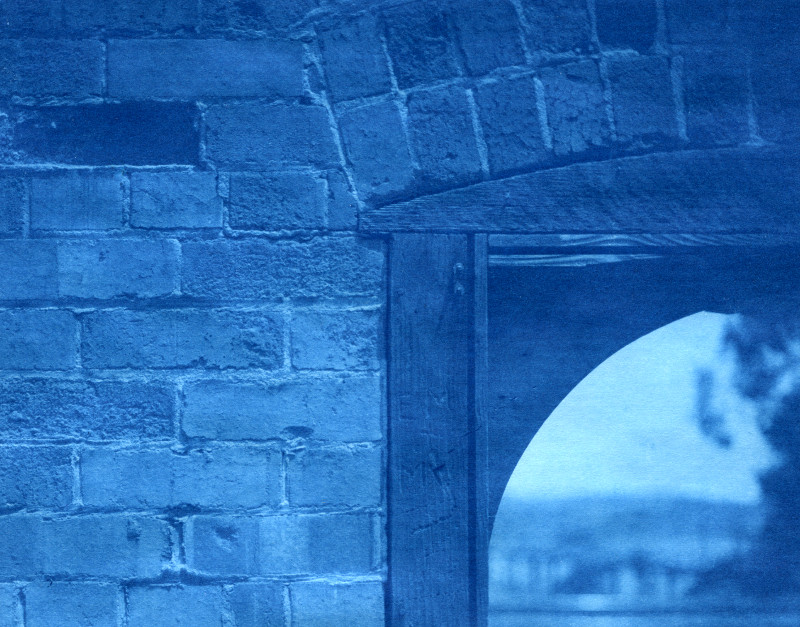
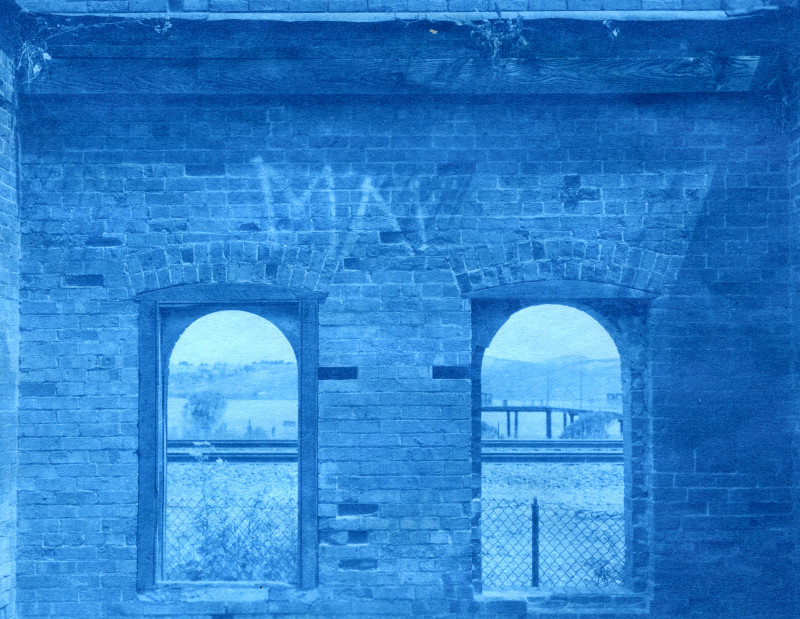
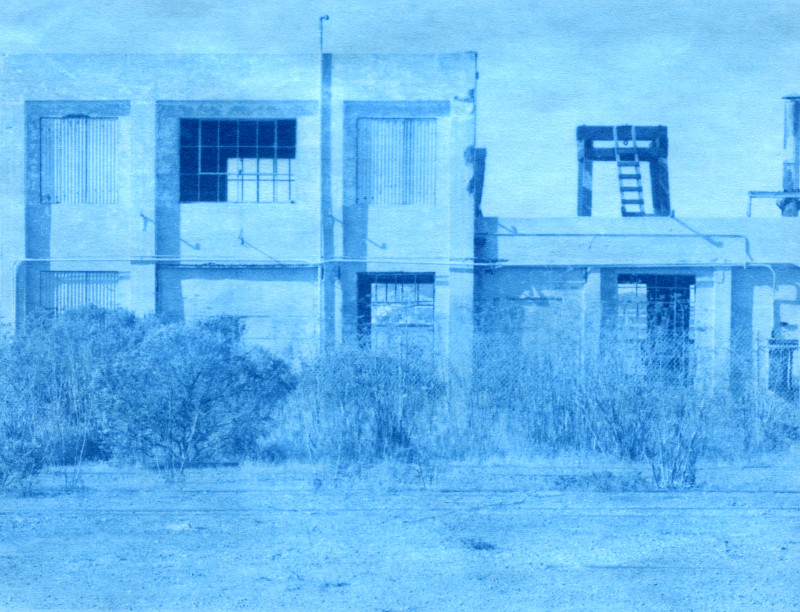
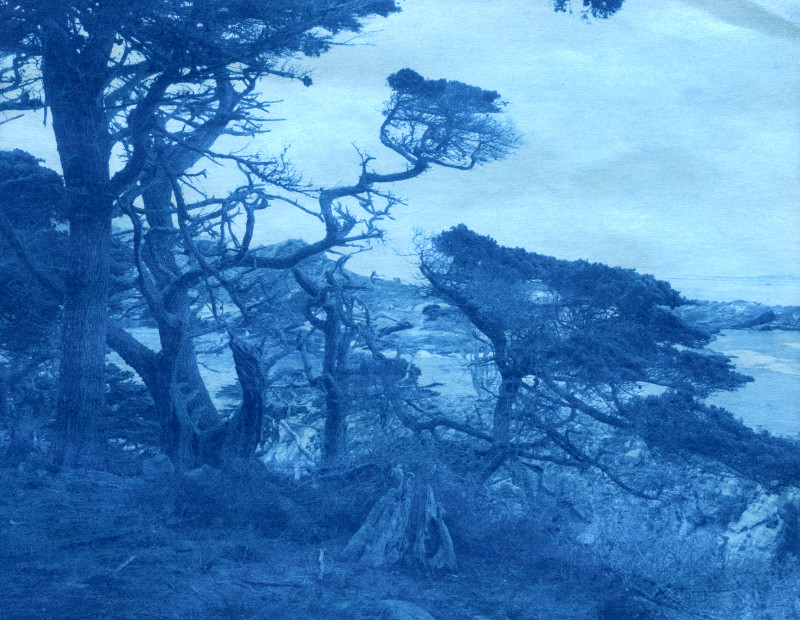
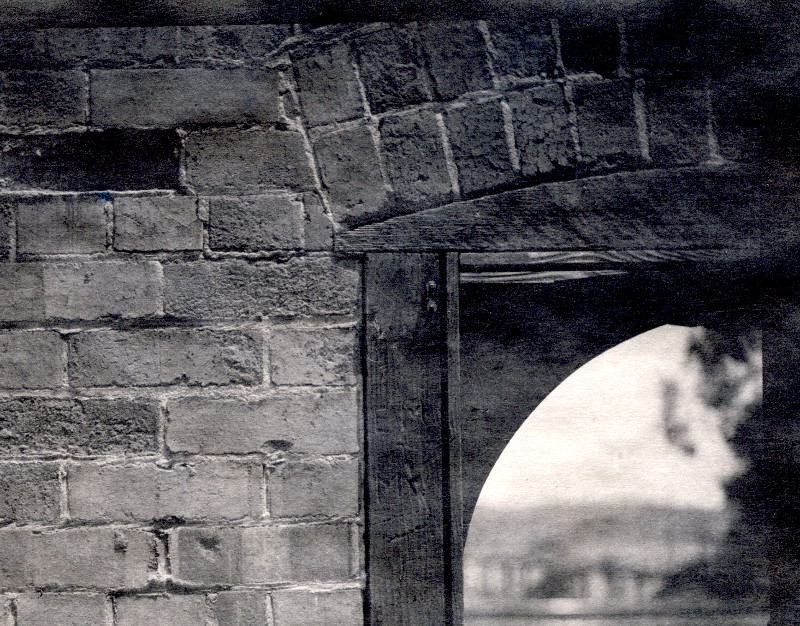
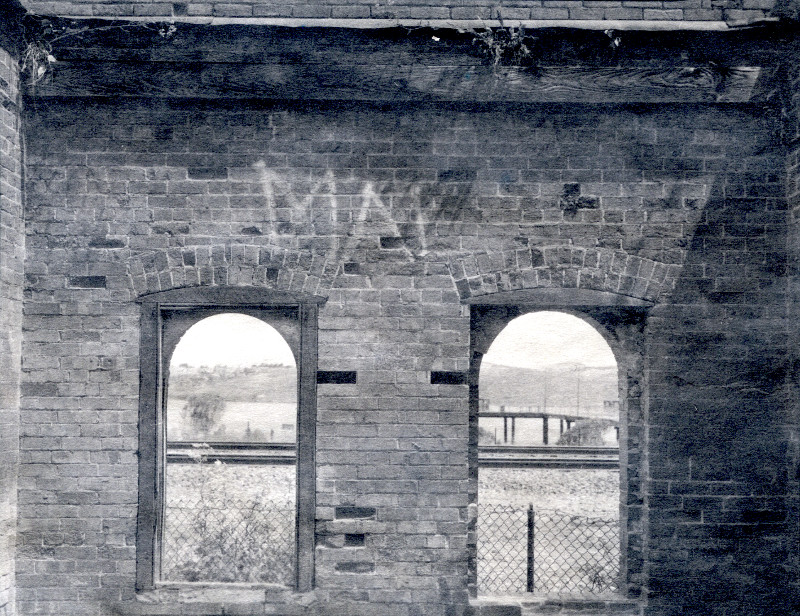
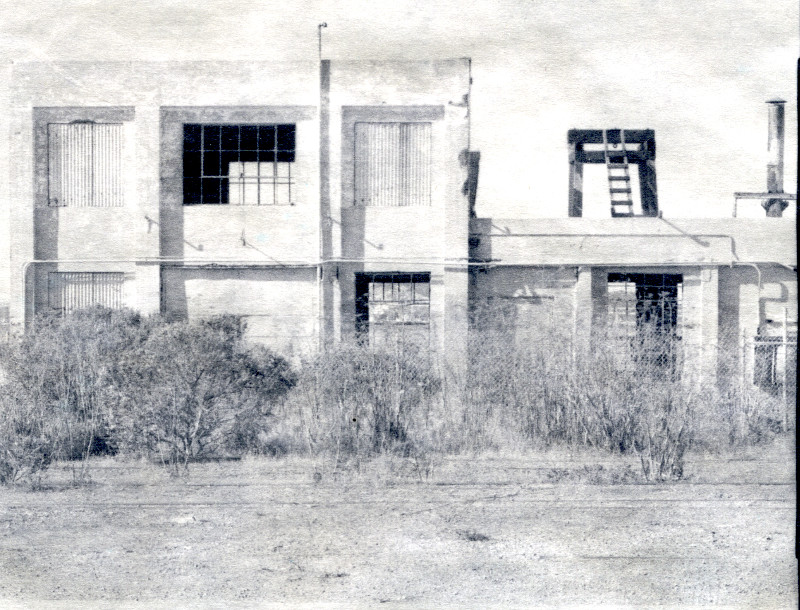
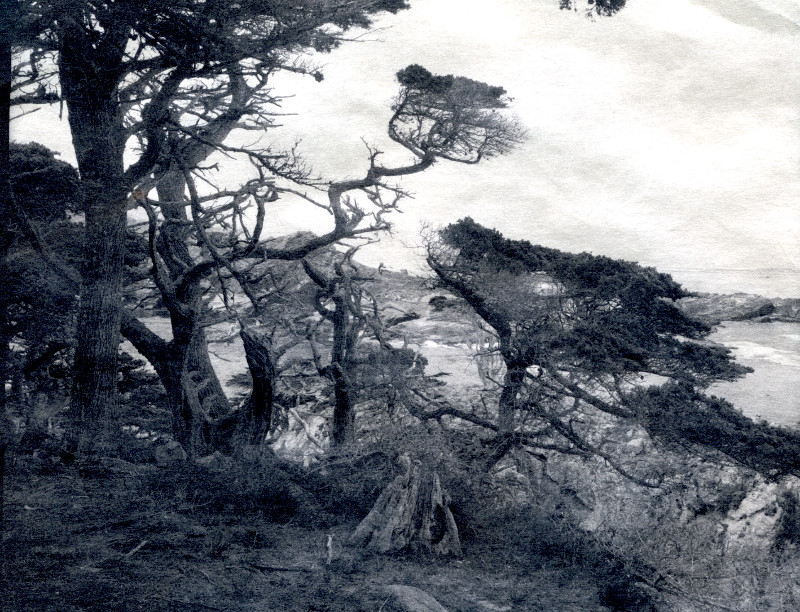
These are scans of the actual prints to show the depth of colour and the texture of the paper.
These prints were approximately 48 hours old when scanned. Cyanotypes tend to increase their colour depth as they dry and take up oxygen. A few drops of hydrogen peroxide in the final rinse water can help speed along the colour saturation, and is probably worth doing before any bleach/tone sequence to ensure full density. A 3% solution of hydrogen peroxide is available from pharmacies/chemist shops. It pays to punch a couple of small holes in the seal under the cap to control flow.
5x4 contact print (above), 12 minutes noon sun July, N. California. 0.1% w/v citric acid development To the toned version
5x4 contact print (above), 12 minutes noon sun July, N. California. 0.1% w/v citric acid development To the toned version
5x4 contact print (above), 12 minutes noon sun July, N. California. 0.1% w/v citric acid development To the toned version
5x4 contact print (above), 12 minutes noon sun July, N. California. 0.1% w/v citric acid development
Point Lobos, California. Some paper texture and lack of flatness is visible in the sky. To the toned version
But…blue?
The blue colour of cyanotypes is not always a problem, and often works well with many subjects. However it is possible to convert the colour to brown/black by bleaching the original and then toning in a tannin (tannic acid) bath. The bleach is made from sodium carbonate (washing soda) at around 1 teaspoon to a litre of water (2-4g). Stronger solutions will bleach faster, but this strength should do the job in about 5 minutes. The image starts to fade like worn blue denim, until only a slight yellowish tone will be seen around the darker parts of the image. If the image is only partly bleached - some blue remains - the final colour will be a composite of the orignial blue and the tannin effect.
The tannin bath can be made from wine tannin (up to 2-4g per litre of water), or from green tea (3-4 tea bags brewed normally, then diluted to 1 litre). Stronger tannin baths will tone faster. Aging the wine tannin bath by letting it soak for several days in a closed bottle in the dark seems to improve the strength.
This image was made on fresh Sunprint paper from a contact print of a 5x4 inch negative, developed in plain water, and dried overnight. Before toning the print was wetted in a water bath with a few drops of 3% hydrogen peroxide to ensure that the image was fully developed. After rinsing in plain water, the print was bleached with a 0.4% weight/volume solution of sodium carbonate (4g washing soda in 1000 ml) until the image faded to a weak yellowish image. This takes a few minutes.
Toning was done in a week-old wine tannin bath until the image reached maximum density. This took over 10 minutes. Finally the print was rinsed in several changes of fresh water and air dried.
The toned image comes up black, with the highlights a little weaker than the original. The highlights are more neutral in the original print. The scan also picks up the paper texture.
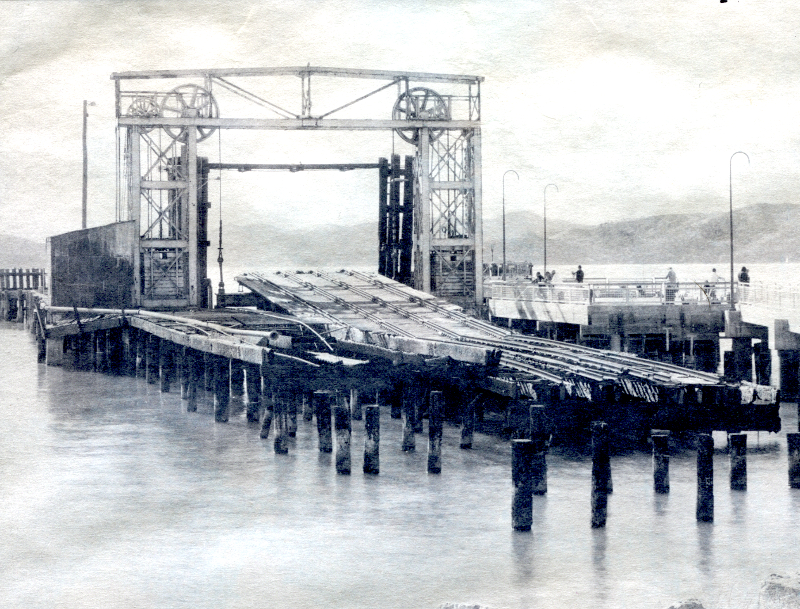
Old rail ferry pier, Ferry Point, Richmond, California
In order to get a feeling for the density range of the toned image, I contacted a Stouffer Step Wedge on the same sheet of paper so that it received the same processing cycle. Each step represents 0.5 of a stop difference (note that step 11 appears on both runs). Even in the scan, there are 12-13 steps visible, which is very usable.
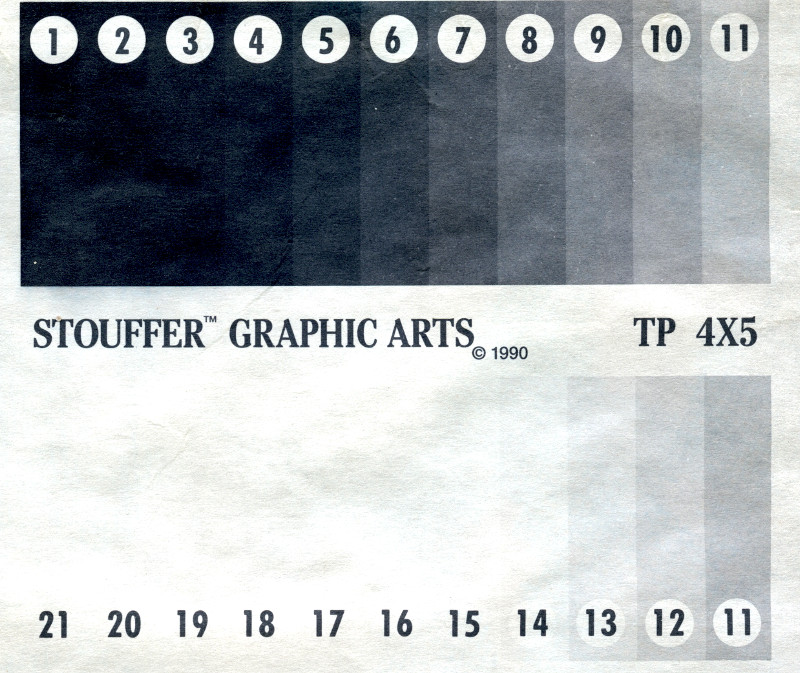
Stouffer Step Wedge, processed identically to the above print.
Toned versions of the preceding prints
The prints shown above were rewetted, bleached until the image was gone - about 5 minutes, rinsed, toned in wine tannin solution for 20 minutes, rinsed and dried. Scanning was done without any post-processing, and if anything the overall contrast has been increased from the original.
5x4 contact print (above), 12 minutes noon sun July, N. California. 0.1% w/v citric acid development, wine tannin toned.
Track-side building, Carquinez Strait California. To the original
5x4 contact print (above), 12 minutes noon sun July, N. California. 0.1% w/v citric acid development, wine tannin toned.
Track-side building, Carquinez Strait California. To the original
5x4 contact print (above), 12 minutes noon sun July, N. California. 0.1% w/v citric acid development, wine tannin toned.
Ferry Point service building, Richmond, California. To the original
5x4 contact print (above), 12 minutes noon sun July, N. California. 0.1% w/v citric acid development, wine tannin toned.
Point Lobos, California. To the original
Thoughts on the use of wine tannin
The wine tannin I used was supplied by a home brewing company. The powder originated in Slovakia, and is described as coming from the chestnut tree (possibly ground nut husks). The colour is a reddish brown and resembles ground cinnamon in texture. When it is initially dispersed in water the solution is reddish and it does not tone the same - there is more blue recovered. Fully bleached prints with aged tannin solution (dark brown) come up neutral black. Using hot (not boiling water) for the initial dispersion may release more of the tannin immediately. The main benefit of wine tannin over tea is that it does not stain the paper. Green tea is less likely to stain than black tea.
The diluted tannin will not keep forever - it will develop fungal growths. These can be filtered but eventually the solution will have to be tossed. Typical shelf life seems to be around a week if kept in the dark.
